
"Pull your abs in", "tighten your core", "hollow your abs". Ever heard these and wondered what they actually mean? Here’s our take.
Read moreCaring for Pilates Equipment
Most of you now have an array of small Pilates props and equipment at home to work with and have asked about how best to look after them and ensure longevity. As we spend a lot of our time at the studio cleaning now we’ve become somewhat expert on the ins and outs of what works and what doesn’t so thought we’d pass on our knowledge. As most props are made from materials that can’t be recycled it’s also good for the planet to keep them clean and cared for.
Storage
Storing your Pilates equipment properly will delay any deterioration and help keep them functional. Exposing rubber and foam to sunlight, heat or moisture can decrease the lifespan of your props, so ideally you want to find a nice cool, dark place to store everything together.
Some might argue it’s good to have props out where you can see them- this way you’re more likely to get stuck into your homework or move your body when you most need it (long day at the desk anyone?) I personally have a woven basket for my selection of home props that’s out in the hallway- that way I get a subtle reminder when I get home to get on the floor at some point and move my body post teaching.

Cleaning
How often you clean your props is really up to you and how often you use them. I certainly recommend cleaning things down after a particularly sweaty workout but if you’re only using something like your Franklin balls to roll out your feet every few days then washing every use isn’t necessary. Prior to Covid we did a monthly dunk of all balls into the sink with warm, soapy water, foam rollers a bit more frequently, and we washed the mats after every mat class and each studio shift, so just use your common sense here…
Therabands & loops: Limit washing of bands and loops to a minimum, every wash decreases the lifespan of the elastic. If you do decide to wash at home then dunk in soapy water and gently wash with a sponge, lay to dry flat over a clothes line. Afterwards spray lightly with some dry shampoo to remove the stickiness and make them smooth again.
Mats (like those we have in the studio): Should be washed down after any full movement class. Make up a spray bottle with a few drops of tea tree oil and water spray down throughly with a microfibre cloth. Note that many yoga mats are made with a different kind of foam and come with different instructions so best to follow those if you have something different at home.
Franklin balls (red or green): Wash in warm soapy water with a sponge to get into the dimples, and store in a cool dark place to ensure longevity (these babies are pricey!) These can be inflated with a needle pump, if you don’t have one at home feel free to bring yours into the studio and we can pump them up for you.
Inflatable Pilates Ball: We find these easiest to clean when there's less air in them, just make sure the stopper is in fully and wash in some warm soapy water with a sponge.
Spiky Balls/Peanuts: These collect dust and dirt quite a bit more due to increased surface area, and because we’re usually rolling them on the floor- a dunk in some soapy water and a scrub with a longer bristle dish brush will work nicely, ensure all soap residue is washed off.
Spine Corrector: To those lucky ducks out there with a spine corrector at home you can lightly spritz and wipe down with a tea tree oil and water mixture followed by a wipe down with a dry cloth. Try not to let any water sit on the surface of the spine corrector for long.
Foam Rollers: As with the spine corrector a simple mixture of water and tea tree oil works nicely on the old faithful foam roller.
**It’s worth noting we’ve eliminated tea tree oil from our cleaning regime at the studio as it is destructive to the vinyl on the equipment and we thought one universal detergent spray would be better than a variety of different sprays for different things when cleaning up at the end of class with multiple people
stretches for tight shoulders
If you’re new to motherhood then the chances are you’re feeling little tight and sore in your upper back and shoulders…Motherhood is hard work and we hear from Inner West Mums all the time that they never expected such a high level of physicality from caring from a newborn: from negotiating yourself out of the depths of the sofa with bub in arms, to transferring your little one from pram to car seat, not to mention the postnatal back pain from all of the lifting, and night time rocking.
It’s nearing the end of World Breastfeeding Week, so we thought we’d bring you a few ways to bring a little more 3-dimensional movement into your shoulders, neck and spine on a daily basis and help balance out all the labours of motherhood. The series of exercises shouldn’t take longer than 5 minutes. It’s not much- but if you do the sequence a couple of times a day after feeding, then you’re creating a habit that can be built on over time- and we all know habits are the key to staying active, stong and mobile. (If you just KNOW that you need something more structured and guided, then check out our postnatal small group reformer classes.)
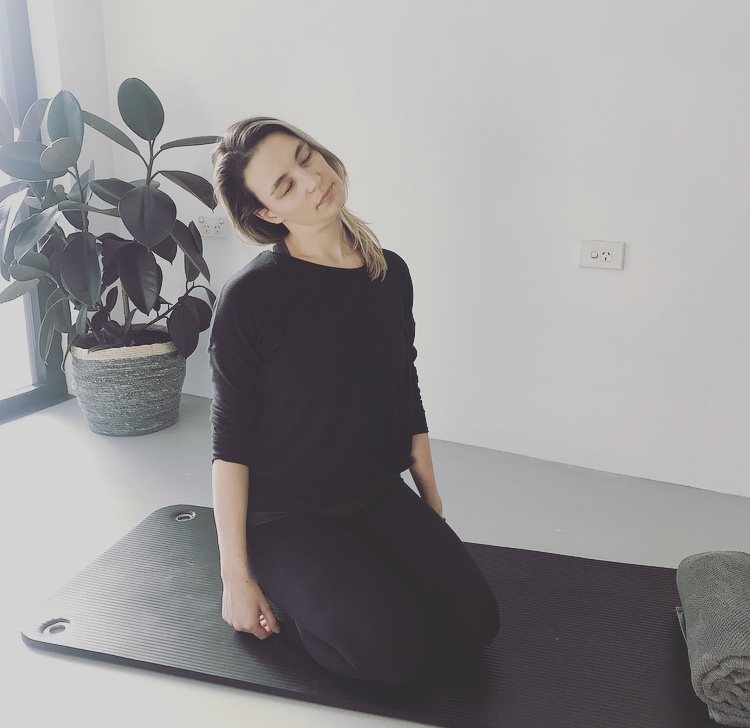
Shoulder Rolls
Inhale: Roll both shoulders up to your ears.
Exhale: Roll them back & down again. Repeat x10.Tip your head to one side & do the shoulder rolls on the opposite side. Repeat x 10 each side.
This one can be done just about anywhere and is best done with nice long slow breaths.
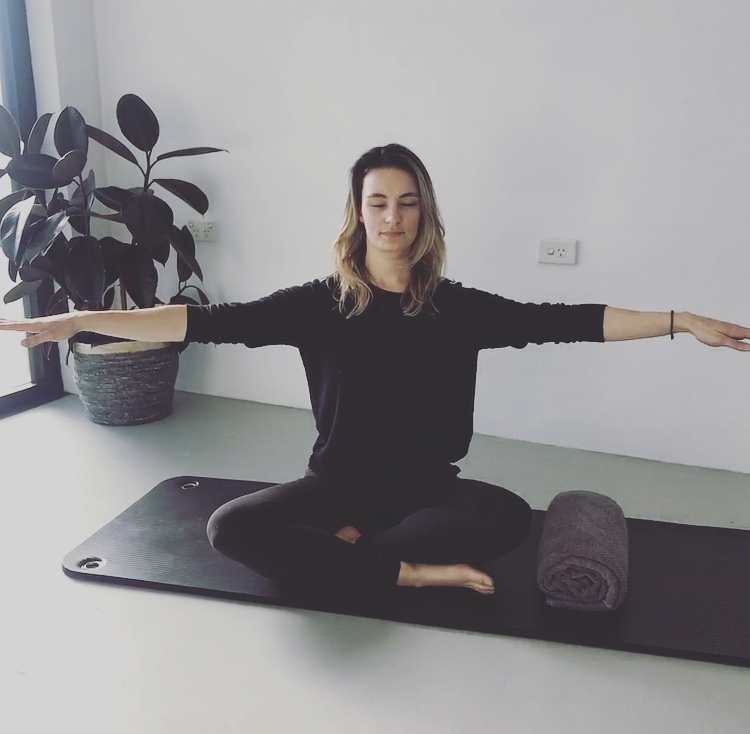
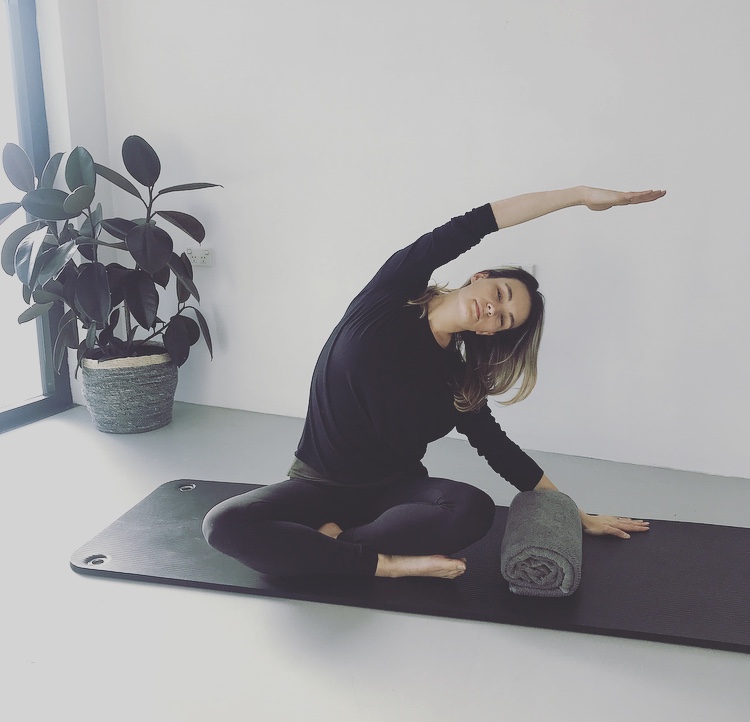
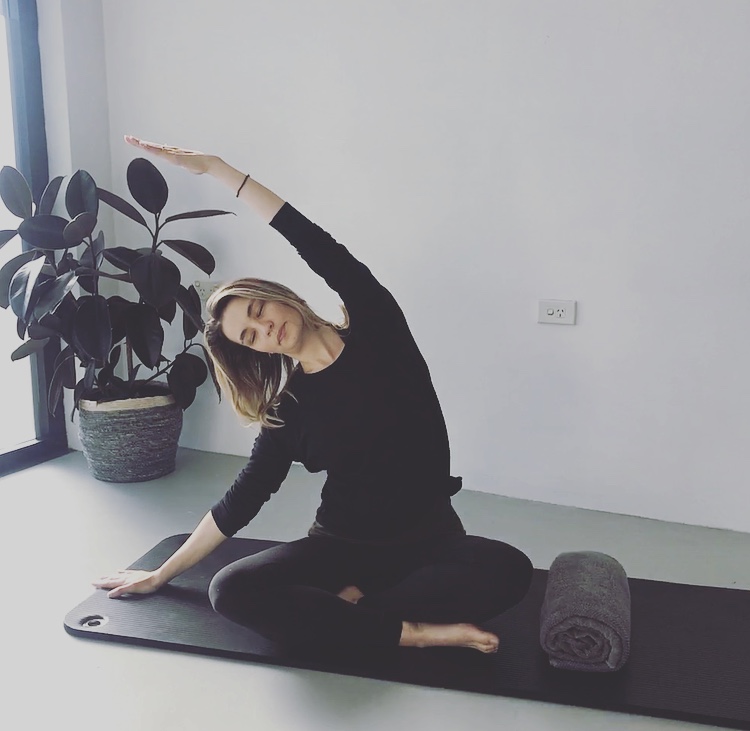
Mermaid
Sitting crosslegged on the floor, reach both arms out wide: Place one hand on the floor & reach the other hand overhead, creating a side stretch.
Stay and breathe here for a moment and then tip over to the other side. Repeat x5 each side.
You can also do this sitting on the edge of the couch with feet on the floor.
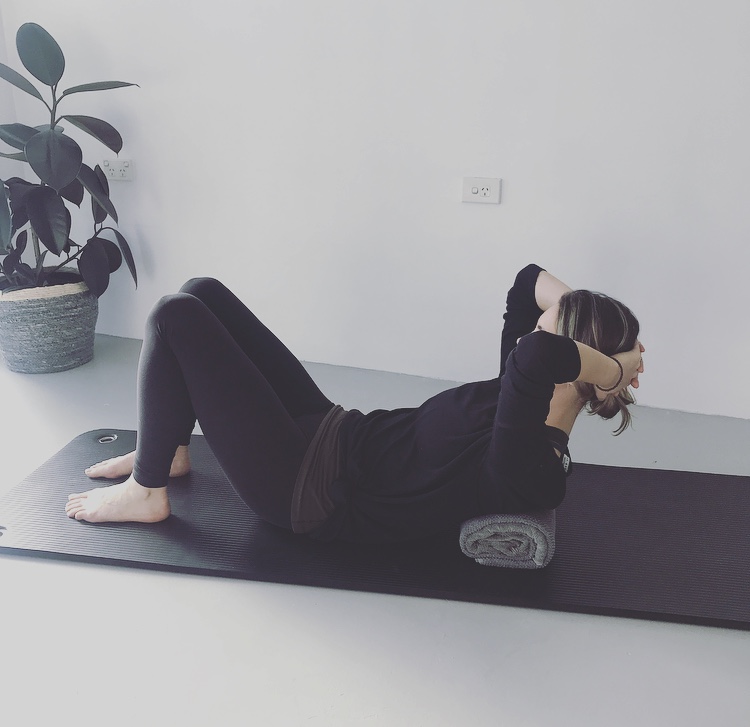
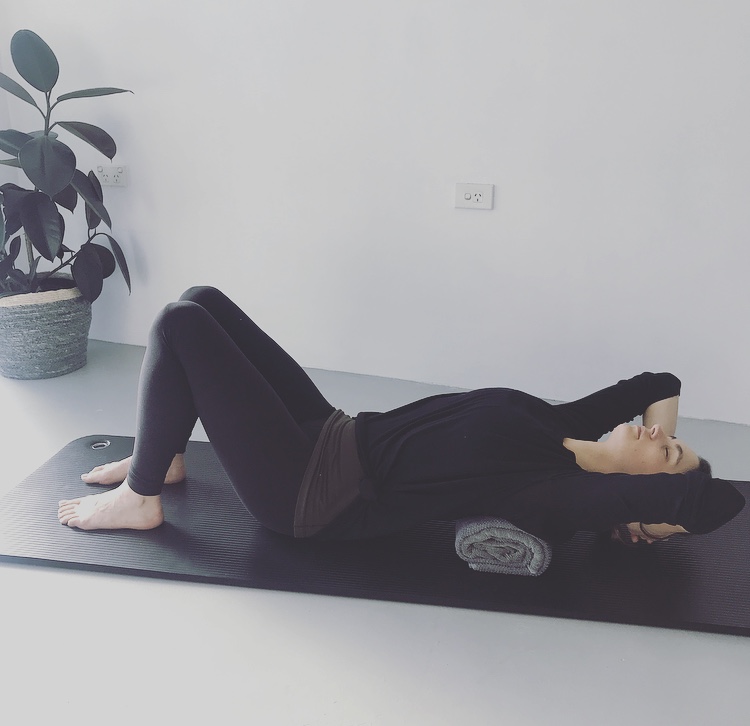
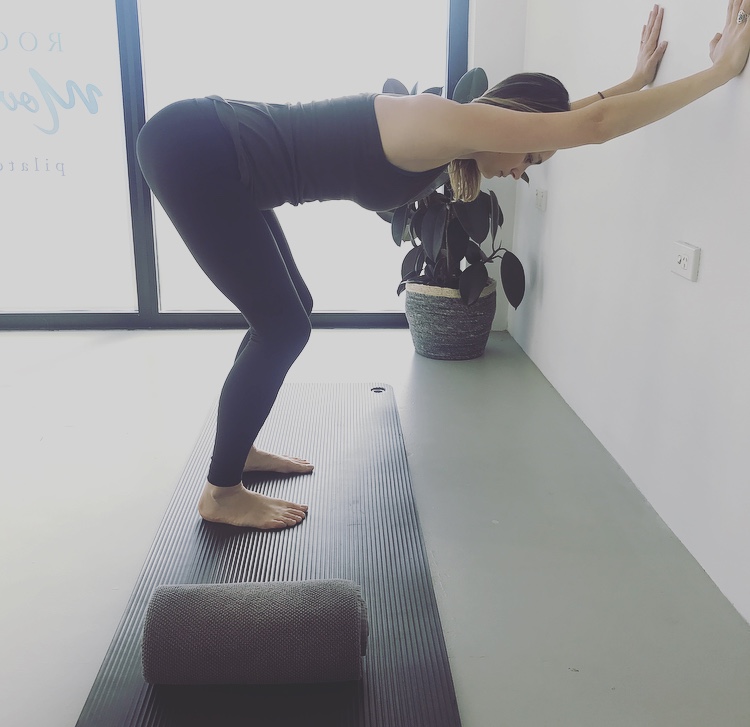
Passive Chest Opener
Roll up a couple of towels and rest your shoulder blades on them. Place hands behind your head like a basket, and bend your legs.
Stretch your spine backwards, let your elbows fall out to the side and stay here for 10 breaths.
This stretch is NOT suitable for Mamas with an abdominal separation.
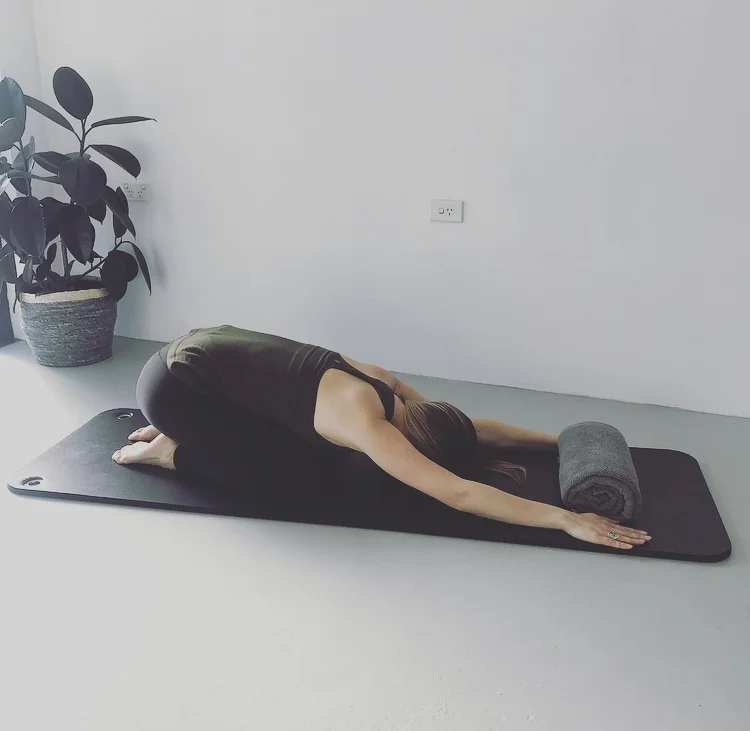
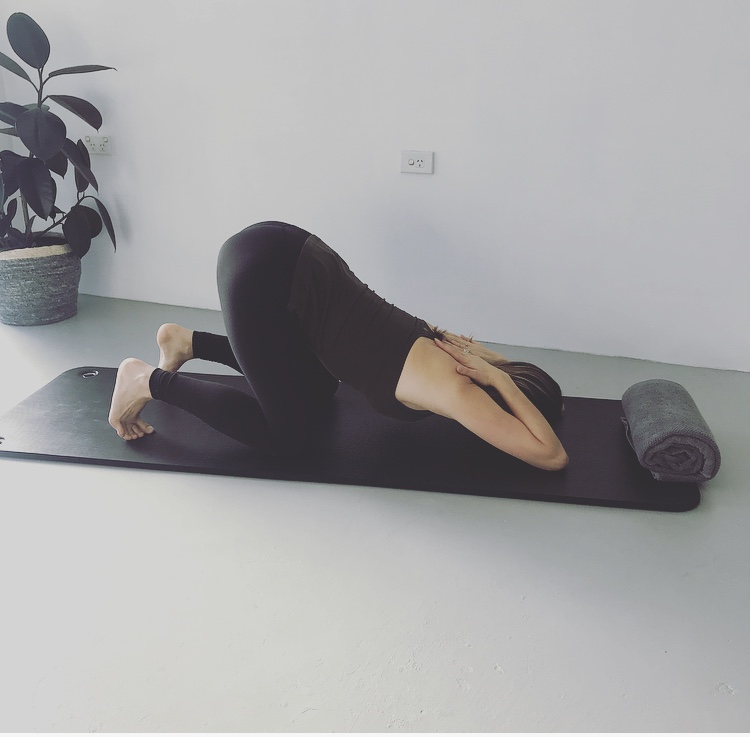
Chest Opener
In each of these stretches the focus is on breathing- once in position for your chosen stretch, try to breathe three dimensionally into your whole waist & ribcage, and relax as much as possible on your breath out. Repeat for x10 Breaths.
Version 1: Kneeling with your bottom rested on your heels: Stretch your arms forward, then rest your head & chest down on the floor.
Version 2: From the first stretch bend your elbows & place them at your upper back, lift your bottom into the air & allow your chest to sink forward to the floor.
Version 3: Standing, press your hands on a wall or on the kitchen counter & lean your bottom back into a squat. (Really stick your bottom out with this one.)
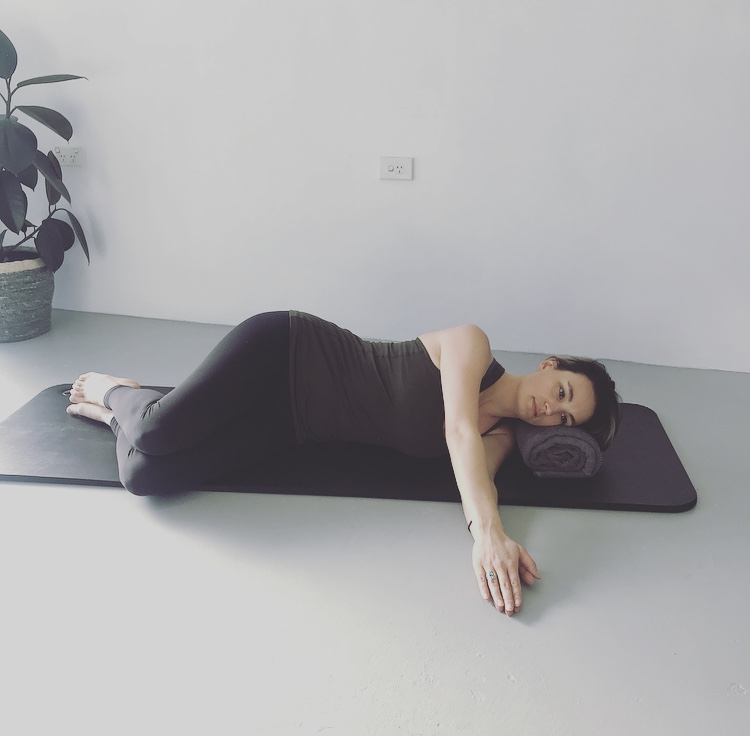
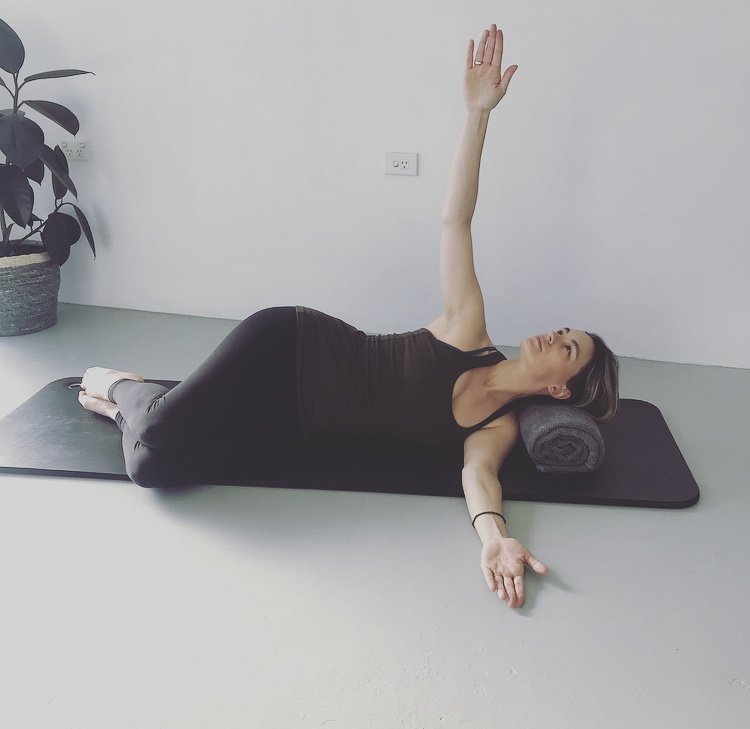
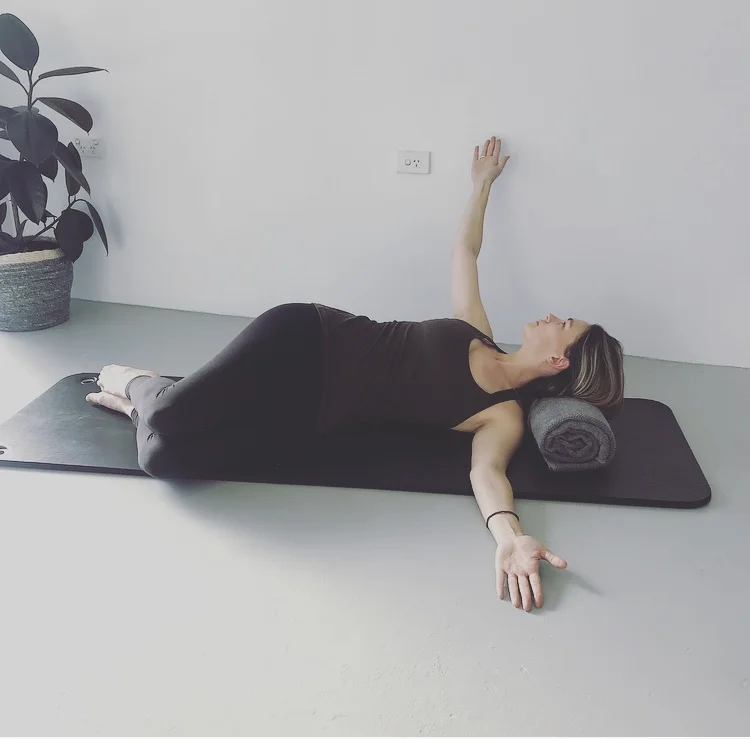
Book Openings
Lie on one side, with your head supported with a towel or pillow, legs bent & arms reaching forward.
Lift your top arm up, then turn your spine & chest to face the ceiling. Keep your knees together & do some breathing in the stretch.
Roll your spine forward & close the arms to finish. Repeat x5 each side.
Make sure not to let your arm hang off your shoulder here, think of creating width across the front and the back of your chest.
It's All in the Hips
Here’s an absolutely magical glute stretch.... It can be done sitting on the edge of the bed or the bath, at your desk, lying on your back with your feet on the wall (or rested on the couch)- there’s no excuse not to indulge really!
Benefits
Stretching the gluteals will open up the back of the hip and relieve tension in the lower back and sacrum, free up the legs, AND it feels oh SO good!
Who's it for?
There’s not many people who wont benefit from this stretch but it’s best to avoid if you have a suspected hip tendinopathy. Take special care to keep the spine in neutral if you have low bone density or osteoporosis of the spine, and if you’re in the second or third trimester of pregnancy then it’s safer to do the stretch from a seated position.
How?
Lie on your back or sit high on your sitting bones and cross your left ankle over your right knee.
Rest your right foot on a wall or on another surface and use your left hand to gently push your knee away from you to feel the stretch.
If you’re feeling a bit like a twisted pretzel then move away from the wall to decrease the stretch a little, if in the sitting position you should sit on something a little higher.
Try to keep your spine relatively neutral to get the best stretch, and keep even weight across the back of your hips
If you’re not sure where your neutral spine is, then you might opt to rock the pelvic back and forward once you’re in the stretch in order to find the place where you get the most effective stretch. If you’re lying down you might feel like you have to stick your bottom out a little, and if you’re sitting you’ll want to be right up on your sitting bones so you can feel them on the chair underneath you.
Spend thirty seconds to a minute on each hip and take the time to do some belly breathing to relax your abdominals and waist muscles.
Your body will thank you for this one!
Rachael Wright

Create the same shape with your legs from the seated position.
Breathing and Stress Management
The diaphragm.
Your diaphragm is a huge muscle that sits beneath your lungs, it looks like a great big weeping willow sitting inside the bottom of the ribcage and is interlinked with the function of your lungs. When we breathe in, air fills the lungs and flattens the diaphragm downwards. The picture below shows it’s position when we’re breathing out and air has been pushed out of the lungs.
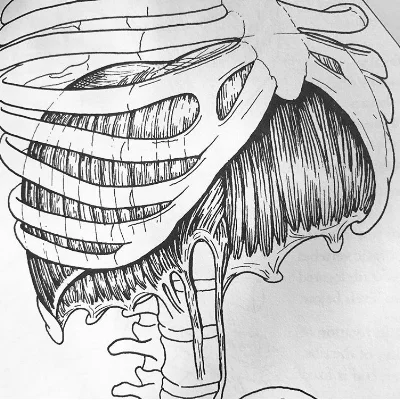
Image Courtesy of Blandine Calais Germaine’s book ‘Anatomy in Motion’.
What's it got to do with stress?
There is an incredible direct link between the function of your diaphragm and the nervous system of your body: When we are in a stressful state we are living in our sympathetic nervous system; where our pupils dilate, our heart beats a little faster, adrenaline is released, and the body prepares for action with short shallow breaths. This quick shallow breathing means we only utilise the top of our lungs and we don’t get to use our diaphragm fully. Back in our cave dwelling days this ‘sympathetic response’ would have mobilised us in the event of being chased by a wild animal, nowadays stressors are differentThe sympathetic nervous system should be reserved for life and death situations but stress has become so common and so too has this kind of breathing.
In contrast, when we breathe more deeply using the diaphragm it can act as a sort of tuner for the para-sympathetic nervous system, helping us calm the nervous system to a state of ‘rest + digest’ via our diaphragmatic breaththerefore we can use diaphragmatic breathing as a way of bringing the body back to a restful state. This restful state is not only a much nicer place to live but also a state where the body finds it easier to heal and repair from injury, and we generally experience less pain when operating in this ‘parasympatheic state’.
Other benefits of better breathing
Better Oxygen exchange = Less brain fog and more vitality everyday.
Improved ribcage and thoracic spine mobility = less neck and shoulder tension!
Better Digesiton = We digest our food much more efficiently when we’re in a restful state.
Better mind body connection and sense of self embodiment.
Lower/Stabalize Blood Pressure
Putting it into practice
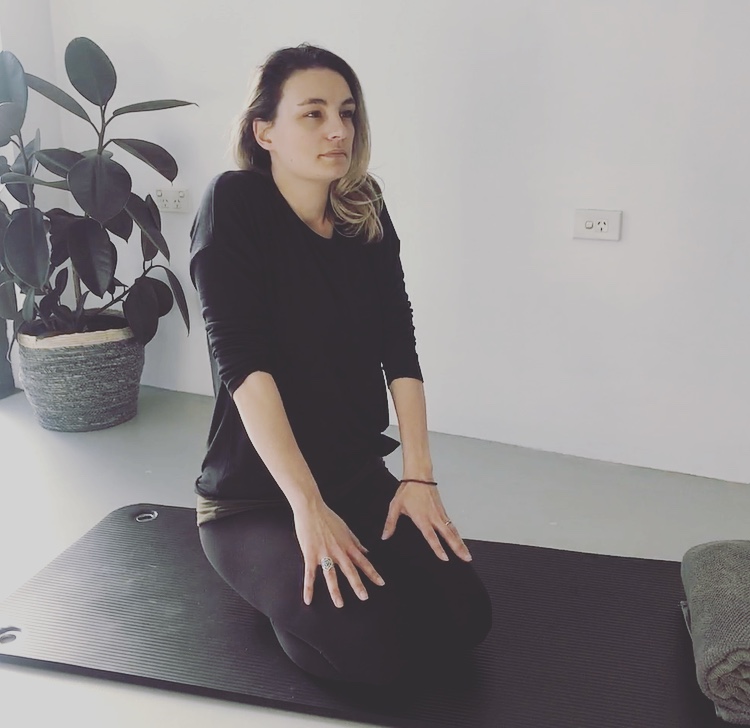
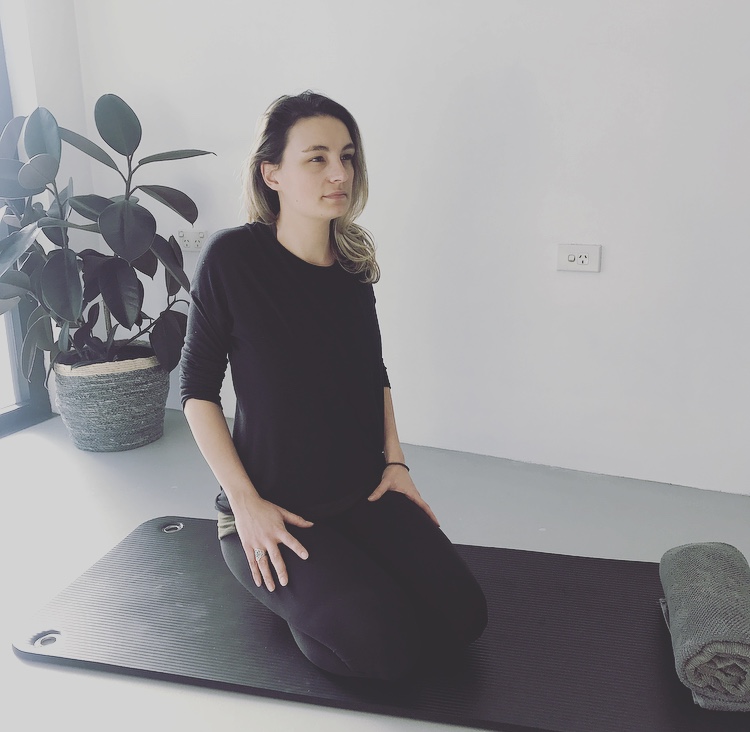
Start lying on your back on sitting upright on a chair or legs crossed:
Place one hand on your belly and the other on your breastbone.
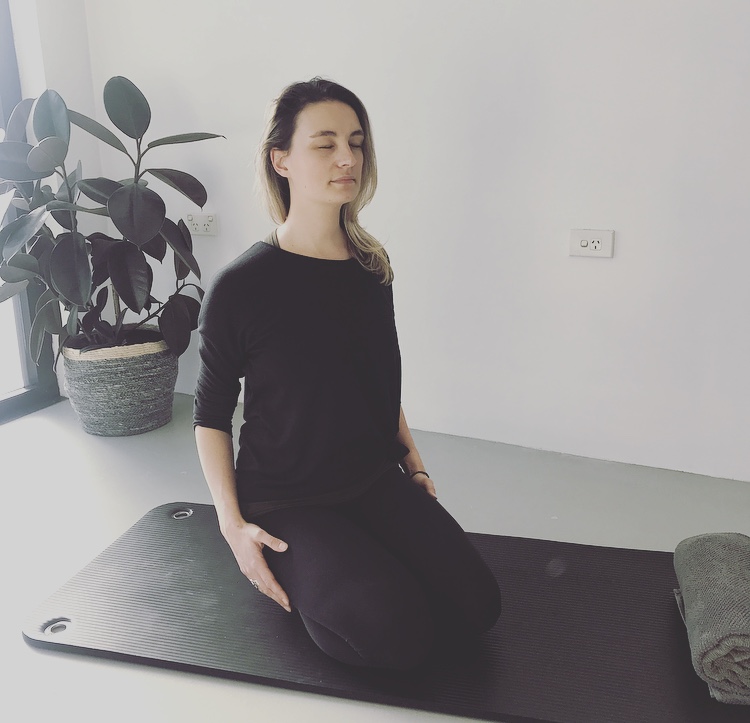
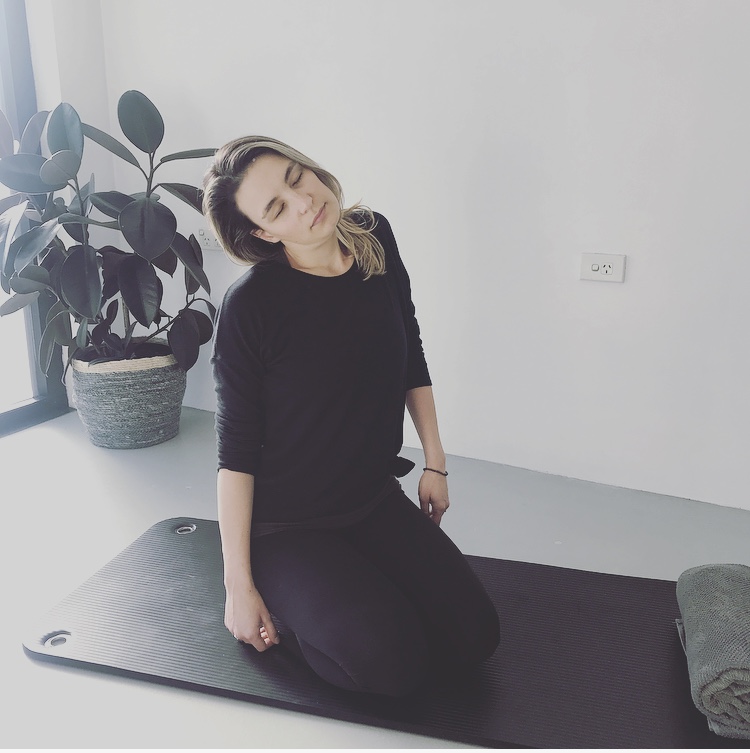
Take a breath in through your nose and expand your tummy (like Buddha’s belly), try to keep your breastbone still, and feel the expansion of your ribs and the softness across your shoulders.
Breathe out through your mouth and feel your abdomen sink and your ribcage funnelling in and down.
Repeat continuously for two minutes or longer.
**To progress you can challenge the body by breathing in for a slow count of 4 and breathing out over 5/6 counts.
For a moment just forget about muscles, even your abdominals and pelvic floor (get out of your Pilates brain.) Just feel the breath moving into the depths of your belly, and flooding around your organs before allowing the breath to fall out of the body.
Note: It could take some practice to get your abdomen expanding as described above, remember you're retraining a muscle to contract and relax just like you do with your biceps, glutes or abdominals, so stick with it and enjoy all the benefits that come along with it. And just incase you're wondering, YES it does mean that you shouldn't be walking around holding your tummy in all the time!
Rachael Wright

